Electronic drums require a bit of light maintenance to get the best out of them, and that includes giving them a clean once in a while. Below, discover how to clean your eDrums, whether it’s a Roland, Yamaha, Alesis, or another brand of electronic drum kit.
Avoid harsh cleaning products
Our top tip is to avoid harsh cleaning products. Roland does not recommend any particular cleaning products, instead, they recommend using “a very mild dish soap and warm water solution”, according to Sweetwater.
Following this tip helps to ensure you are not using any cleaning product that might degrade the drums over time. Our only exception to this rule is when cleaning electronic cymbals, where we recommend 303 Aerospace Protectant, which is a cleaning product designed specifically for rubber.
How to clean rubber electronic cymbals
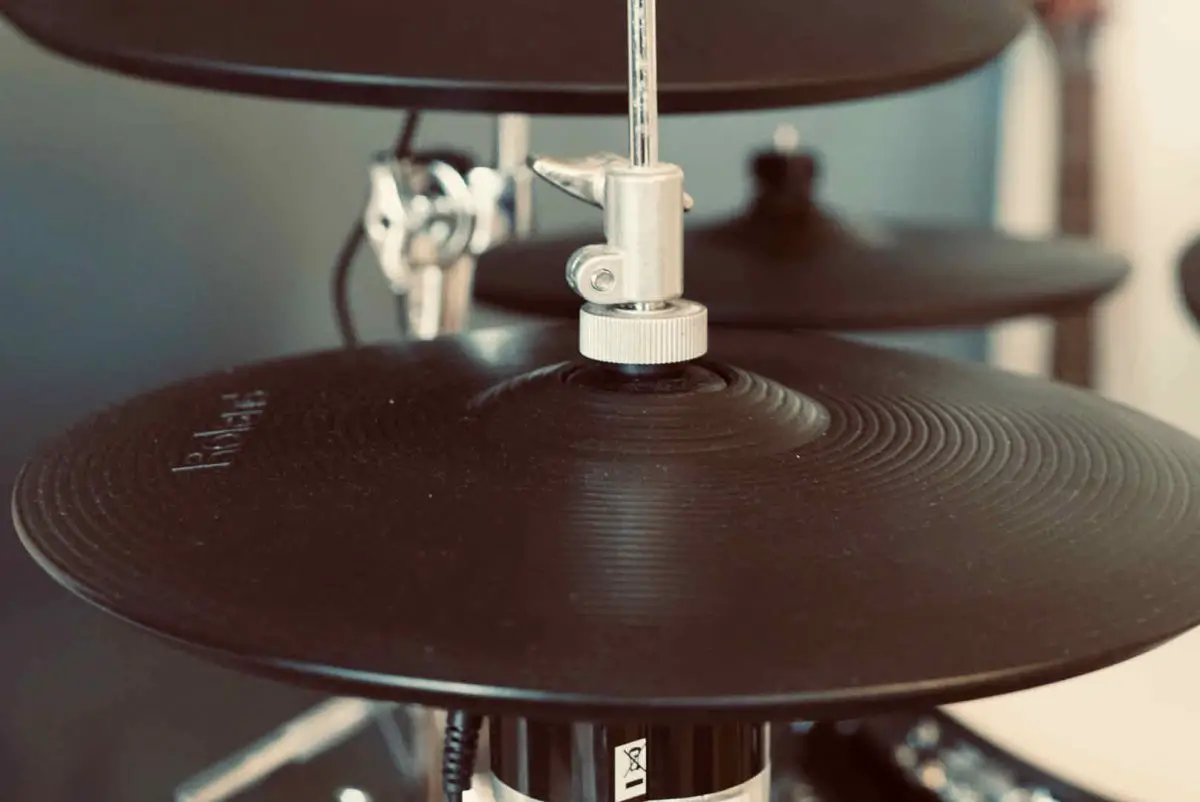
Of all the components of your electronic drums, your cymbal pads are the most likely to become dirty over time. Your sticks can often leave marks over the surface of your pads, which over time can result in patches of stick marks over the playing area. Fortunately, there is a simple way to replenish the deep black rubber finish of your drums.
The answer is using 303 Aerospace Protectant, which is a cleaning product specifically designed for use on rubber. As the name suggests, it originated as a cleaning product in aviation but has since become popular for different applications. If you’ve looked up how to clean electronic cymbals already, chances are you’ll have come across 303 Aerospace Protectant, as many eDrummers swear by it.
The steps are simple:
- Spray a small amount of 303 into a microfibre cloth
- Rub over the surface of the cymbal pad, working into the grooves if it has them
- Wipe up any remaining residue
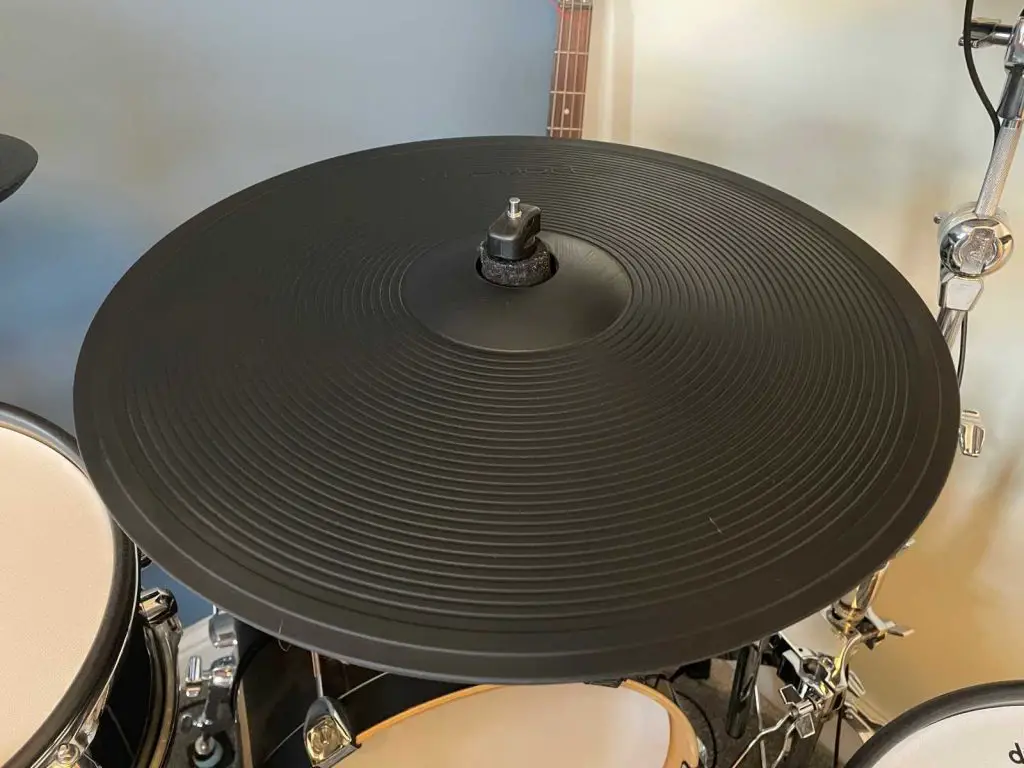
That’s honestly all it takes! I’ve been using 303 on my eDrums since 2018 as part of my regular maintenance, and I’m pleased to say my electronic cymbals still look brand new.
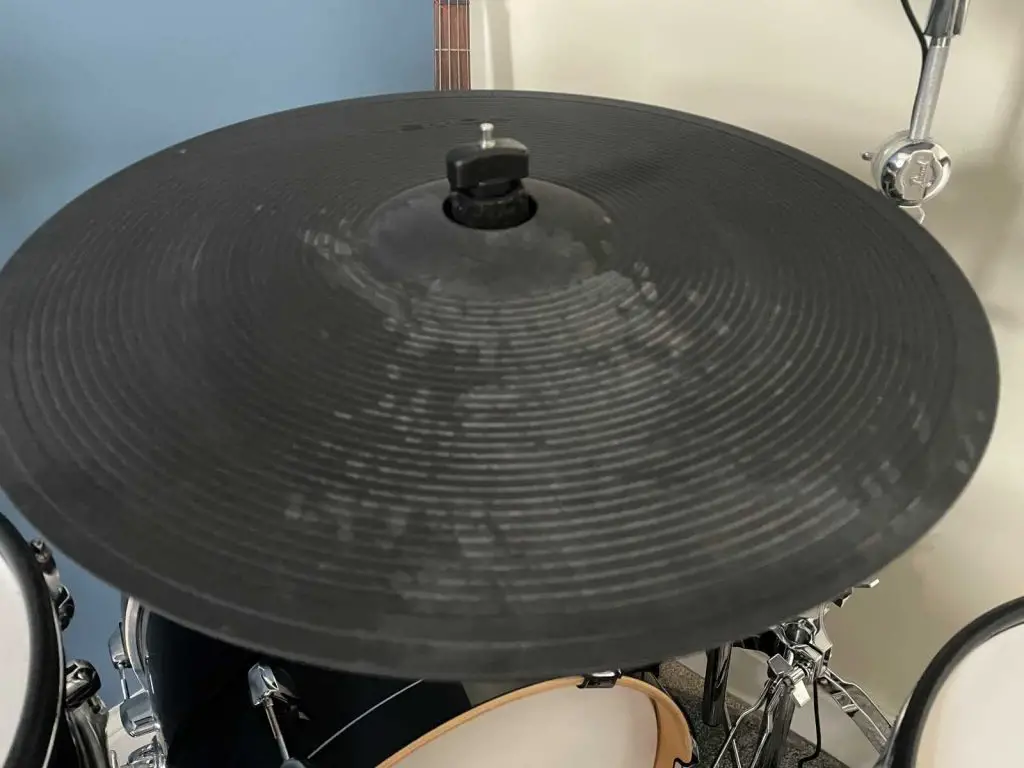
Check out how my Lemon 18-inch ride looked before a clean:
And here’s how it looked after cleaning with 303:
If you want to try 303 on your drums, then consider buying via this Amazon affiliate link, which helps to support eDrumHub.

How to clean electronic drum shells and rims
The best way to clean electronic drum shells is with warm soapy water, taking care not to get any electronic components wet. You can do this by dipping a microfibre cloth in soapy water and wringing it out so it’s damp, then carefully wiping your eDrums.
If you have an electronic kit modelled on an acoustic kit or an Acoustic-to-Electronic drum conversion, then you can treat the drum shells as if they were standard acoustic shells when it comes to cleaning them.
Using a dry microfibre cloth to carefully clean and wipe up any excess, you can use products designed for wood, such as lemon oil or furniture polish. Be sure to catch any excess polish stuck in any crevices such as around lugs – it can be easiest to remove your drum’s rims before cleaning, and reassembling after.
How to clean mesh drum heads
There are two ways to clean mesh heads, which can depend on how dirty they are. If they are dusty, then you could hoover them without needing to remove them from your kit. Or if they are dirty, use a solution of mild dish soap and warm water. Here’s how:
- Unscrew the lugs around the rim of your drum pad until the screws are fully removed
- Store the lug screws in a safe place and remove the mesh drum head
- Submerse in warm soapy water and rinse through
- While the heads are off, you can wipe the bearing edges of the drum pad or shell
- Ensure the drum heads are completely dry before reseating on your drum pad
- Reapply the screws and bring each back up to tension, working your way around the rim so the tension on each is even
Cleaning the drum module
The drum module is the most sensitive part of your electronic drums since it contains the drum’s processor. As a result, it’s important to ensure it does not get wet. You can use a damp cloth to wipe the surfaces of your drum module, but ensure it’s not damp enough to let any drips in around any dials or buttons on the unit. Often, all that is needed is to have a slight amount of moisture to help pick up any dust on the module.
Cleaning drum hardware
You guessed it, all it takes to clean eDrum hardware is a damp cloth using soapy water. This is fine for the typical electronic drum rack, which is usually made from a mix of plastic fixings and powder-coated metal pipe work.
If you have an acoustic-style electronic kit or otherwise use cymbal stands and other chrome hardware, then it is possible to use chrome polish on these components. However, often this isn’t necessary at all, especially if you keep your drums in your house.
Make cleaning part of your regular routine
It’s easier to clean your kit regularly instead of having to do a deep clean once in a while, not to mention it helps to keep your eDrums in good working order. As a guide, I tend to clean my drums every 4-6 weeks, and can often tell when they need a clean if I’m seeing a lot of stick marks on the pads.
Every once in a while I’ll also take off each pad and carefully clean around the gap between the lugs and the shell on my Acoustic-to-Electronic conversion, and around once a year, I’ll remove the mesh heads to clean any dust that’s found its way inside the shells.
This article contains affiliate links. If you purchase a product through certain links on our site, we may earn a small affiliate commission. Learn more about our adverts and why you can trust eDrumHub here.

Are Drum Modules Interchangeable?

Do electronic drums need tuning?
How Long do Electronic Drums Last?